The Blooming Joy Journal
Checklist for a Thriving Zinnia Garden
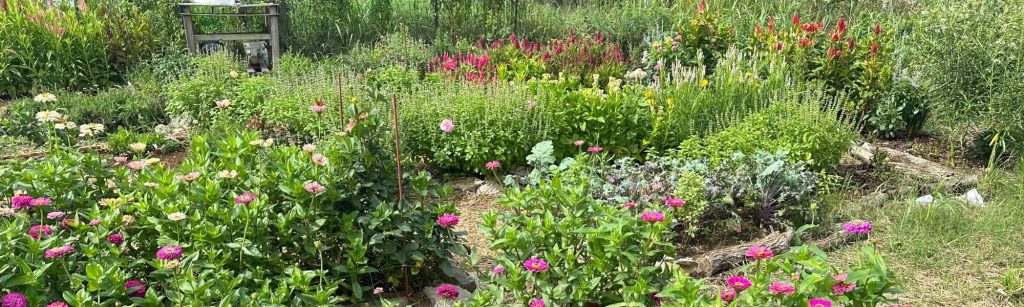
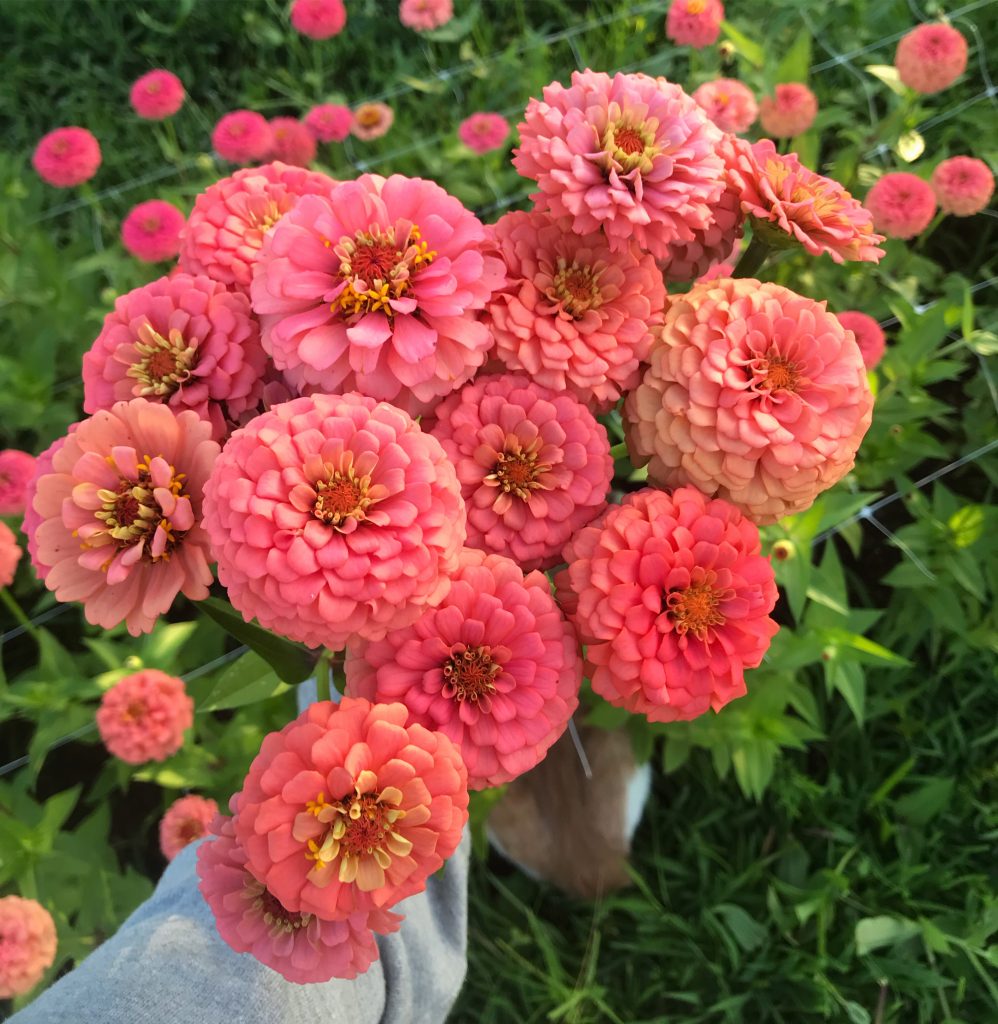
Zinnias are the perfect seed to sow for a summer cut flower garden. They are a 'cut and come again' flower which means the more you cut Zinnias, the more they will bloom! There are a few key things to know when growing Zinnias but I've got you covered in my Zinnia Flower Garden Checklist:
Disclaimer: This blog post contains affiliate links where I may make a small commission when you purchase through them at no additional cost to you. Thank you!
Zinnia Flower Garden Checklist
Find a sunny location. Choose a spot in your garden that receives at least 6–8 hours of direct sunlight each day. Zinnias thrive in full sun and reward you with the most blooms in bright, open areas. Avoid shaded or heavily wooded spots, as this can lead to leggy plants and fewer flowers.
- Loosen soil to plant. Use a tiller or shovel to loosen the top few inches of soil, breaking up clumps to create a light, well-aerated bed that is easy to plant seeds in. Removing the grass is best.
- Buy Zinnia seeds. Zinnias are widely available for purchase at many garden centers and seed suppliers. For a list on some great Zinnia varieties to grow, check out this post on 4 Types of Zinnias for Your Summer Garden.
- Sow seeds after last frost. Wait until all danger of frost has passed and the soil has warmed, typically when nighttime temperatures stay above 50°F. Zinnia seeds germinate best in warm soil, so planting too early can lead to poor sprouting or stunted growth.
- Sow seeds in warm soil. Zinnia seeds thrive in soil temperatures between 70–75°F, so be patient and let the ground warm up before sowing. Warm soil encourages faster germination and strong, healthy seedlings.
New to growing Zinnias? Download my free cut flower garden workbook that features Zinnias to help you get started!
Download Cut Flower Garden Workbook6. Space seeds 9 in apart. Space zinnia seeds about 9 inches apart to give each plant plenty of room to grow and ensure good air circulation. Proper spacing helps prevent mildew and encourages strong stems for better blooms. If you scatter seeds on the ground, you can always go back through a thin plants to about every 9 inches.
7. Cover seeds lightly as darkness aids in germination. Cover zinnia seeds with about ¼ to 1/2 inch of fine soil or compost to keep them moist and in place. A light covering helps with germination.
8. Water after planting. Gently water the soil after planting to settle the seeds in place and provide the moisture they need to germinate. Keep the soil consistently damp (but not soggy) until seedlings emerge, usually within 5–7 days.
9. Keep soil moist. Continue to keep the soil evenly moist while your zinnia seedlings grow, especially during the first few weeks. Avoid letting the soil dry out completely or become waterlogged, as both can hinder healthy growth.
10. Thin seedlings if crowded. Once seedlings have developed their first true leaves, thin them by snipping or gently pulling out the weaker plants to maintain about 9 inches between each. Thinning prevents overcrowding, reduces disease risk, and helps the strongest seedlings thrive.
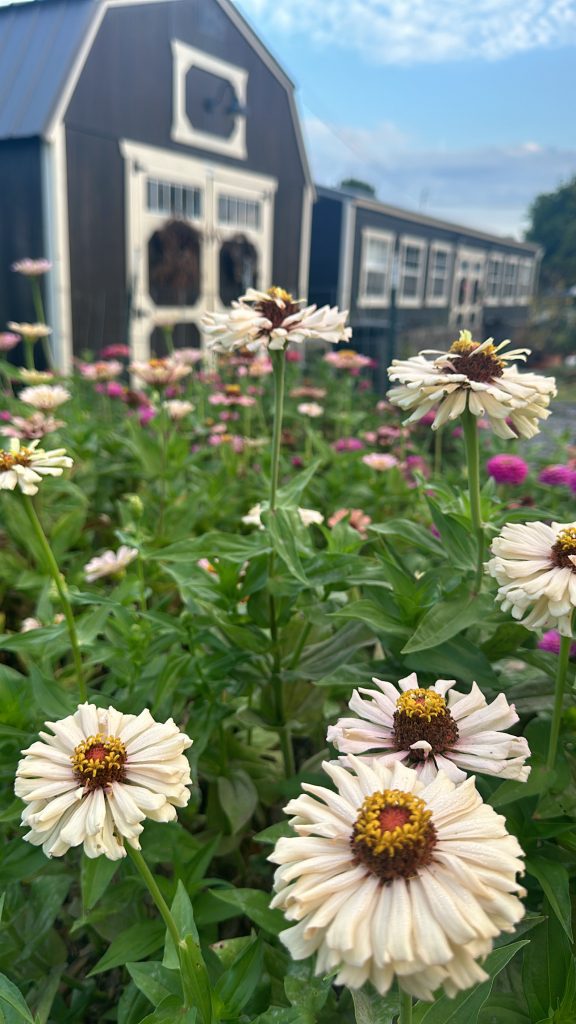
11. Mulch to suppress weeds. Apply a thin layer of organic mulch, like straw or shredded leaves, around your zinnia plants to help suppress weeds and retain soil moisture. Mulching also helps regulate soil temperature, creating a healthier environment for your flowers to flourish.
12. Pinch when 3 sets of leaves. When your zinnia seedlings develop about three sets of true leaves, pinch off the top inch or two of each stem to encourage bushier growth and more abundant blooms. This simple step helps prevent legginess and promotes a fuller, more vibrant plant. Watch how to do that in this YouTube video.
13. Support tall varieties. Use stakes, cages, or flower support netting to support tall zinnia varieties early in their growth to prevent stems from bending or breaking during summer storms. Securing plants early helps maintain upright growth and showcases their beautiful blooms.
14. Harvest in cool part of day. Harvest your zinnias early in the morning or late in the evening when temperatures are cooler and the flowers are well-hydrated. Picking during these times helps preserve their freshness and extends vase life. I've written a blog post on flower harvesting tips to avoid!
15. ‘Wiggle Test’ at harvest. Perform the “wiggle test” by gently shaking the stem near the flower. If it feels firm and resists bending, the zinnia is ready to harvest. This ensures you pick blooms at their peak strength for longer-lasting arrangements. Watch this YouTube video I made on performing the 'wiggle test'.
16. Continuously cut for more blooms. Regularly snip your zinnias just above a set of leaves to encourage the plant to produce more flowers. Consistent harvesting signals the plant to keep blooming, giving you a steady supply of vibrant blooms all season long.

With a little care and attention following these simple steps, your zinnia garden will burst into vibrant color all season long. From choosing the perfect sunny spot to harvesting blooms regularly, each task brings you closer to a flourishing patch of cheerful flowers. Whether you’re growing for cutting bouquets or simply to brighten your garden, zinnias are a joyful, low-maintenance choice that rewards your effort with stunning blooms. Happy planting! May your garden overflow with color and happiness!
